Poppy Playtime Chapter 1 Walkthrough - How to Beat ‘A Tight Squeeze’
Poppy Playtime can be quite scary if you don’t know what you’re doing. Luckily, you’ll find how to beat Poppy Playtime Chapter 1 in this handy walkthrough.
Horror games like Poppy Playtime, which thrive due to their tense and oppressive atmospheres, get most of their scares from the player’s helplessness when they don’t know what to do. And while other similar titles like FNAF had their own brand of unique suspense and horror, Poppy Playtime expands upon this formula by giving players absolute freedom to explore the maps as they figure out where to go and how to solve the puzzles in order to survive and reach the end.
This enhanced freedom, while great for the gameplay, worldbuilding, and atmosphere, can also dramatically enhance the scare factor, as players will need to find their ways through the level in order to complete it. Luckily, this is where this guide comes in, as in the following paragraphs, we’ll be giving you a detailed look into the Poppy Playtime Chapter 1 and showing you how to complete all its challenges. In this sense, if you’re interested in the game’s story but don’t really want to be overly spooked, you’ll know exactly how to proceed.
Poppy Playtime Chapter 1 Overview
The first chapter in Poppy Playtime is called “A Tight Squeeze”, which is very apt considering the final chase sequence right at the end. The main antagonist in this chapter is an 18-foot doll called “Huggy Wuggy”. However, don’t let its cute smile and huggable fur fool you, this doll won’t hesitate to pick you up and gobble you whole if it catches you, showing off its razor-sharp maw while chasing after you. Luckily, if you’re like us and are horrified when playing games like these, but still try to brave their challenges to learn more about the story, you’ll be pleased to know that Huggy Wuggy isn’t really much of a threat until the very end of the chapter. As such, you can pretty much take your time solving puzzles without worrying about him creeping up on you at any moment.
It goes without saying that these words aren’t much help since, even if you know nothing’s out there to get you, the atmosphere is still very tense and it can be quite difficult to make your way through the chapter regardless. Nevertheless, we’ll try our best to guide you with this Poppy Playtime Chapter 1 walkthrough to make it easier for you.
Let’s begin!
The Reception, Toy Room, and Security Room
The game starts you off in the main reception of the Playtime Co. building, with two rooms on either side of the area: To the right is the Toy Room, and to the left we can find the Security Room. The latter room is locked by a color code combination, which is the very first puzzle we’ll have to solve in order to progress.

Right off the bat, you can walk behind the reception desk to pick up the Green Tape, which you can insert in the nearby VCR to view its contents and learn a bit about the world. Keep in mind that, with the exception of the Blue Tape, these tapes are completely optional and only serve to give a bit more context about the game.
The Toy Room to the right of the reception is completely optional as it’s where we’ll find the code required to access the Security Room. The solution is obtained by looking at the train near the ceiling. Specifically, take note of the color of its wagons, as this will be the code to the door. Alternatively, if you don’t feel like figuring it out yourself, the code to the Security Room door is Green, Pink, Yellow, and Red, in that order.

With the code in mind, head over to the Security Room and unlock the door. Inside, pick up the Blue Tape and insert it into the nearby VCR. This video is unskippable as you need to watch it in order to gain access to the GrabPack, the main tool that you’ll be using to interact with the world in Poppy Playtime. However, you’ll only have access to the Blue Hand at first, which you can use by pressing Q if you’re playing Poppy Playtime for free on now.gg
With the GrabPack in your possession, you can walk to the hallway behind the reception by crouching under the turnstiles, and using the Blue Hand on the panel above the shutters to open them and gain access to the main factory lobby.
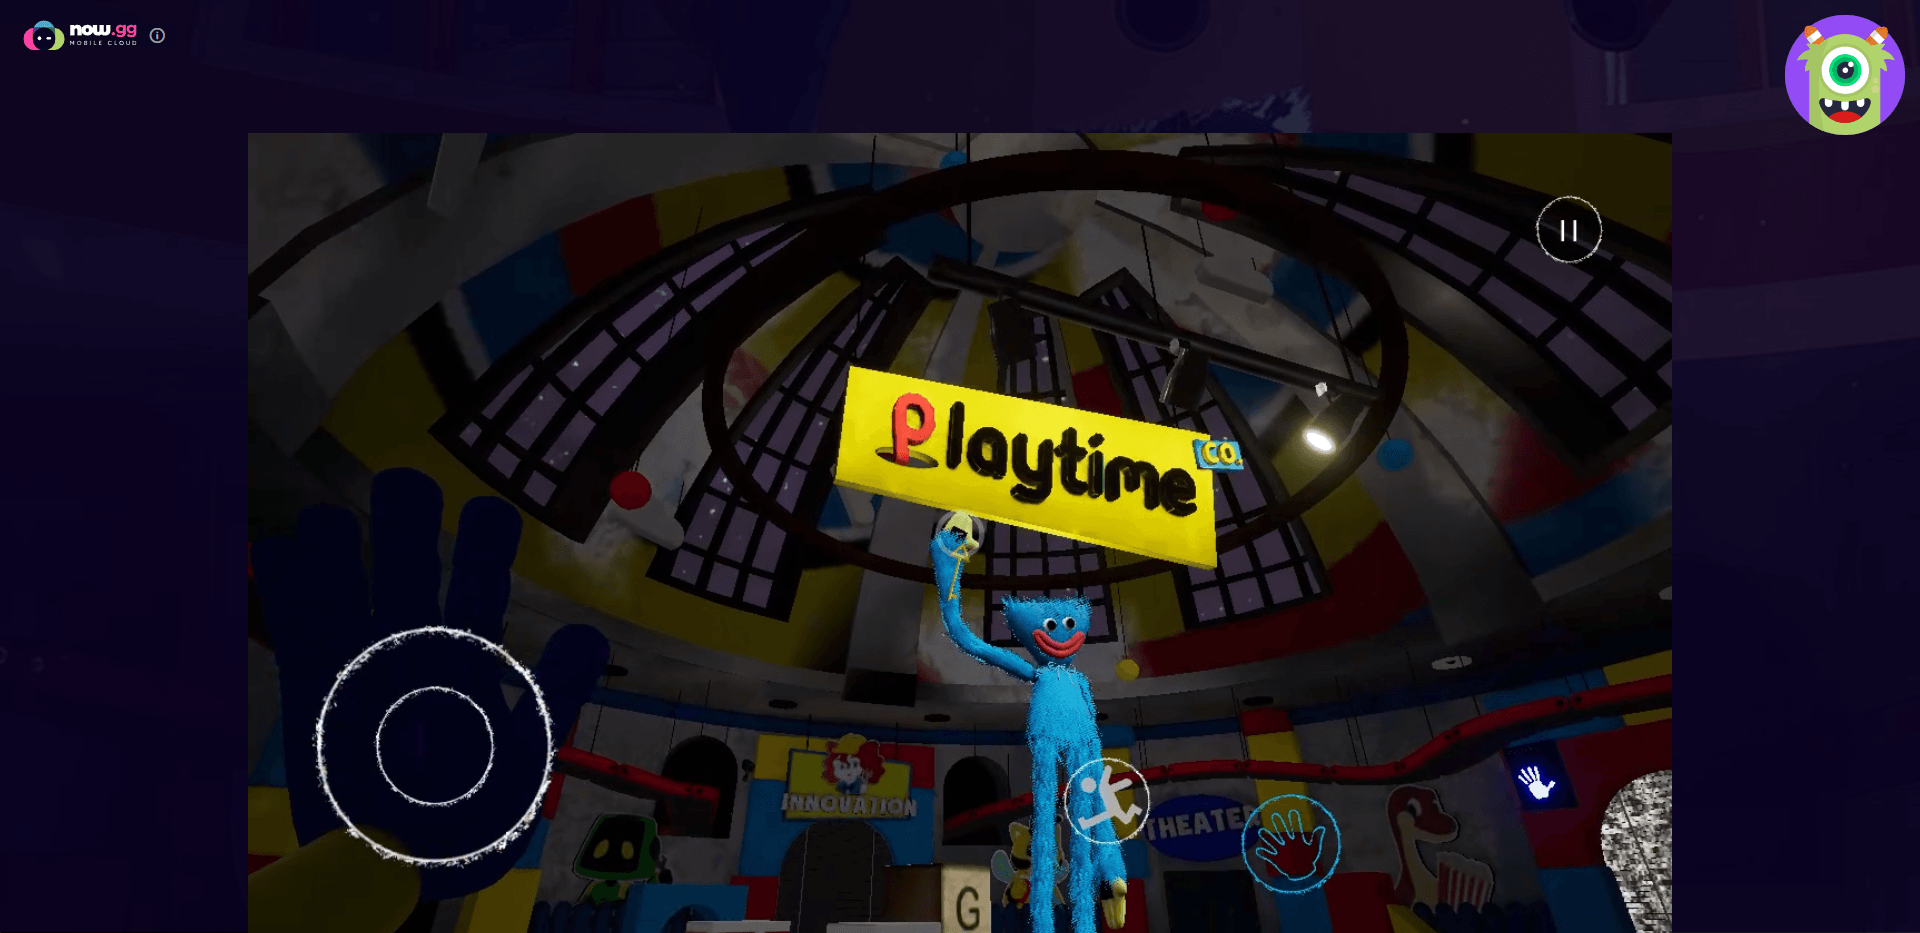
Welcome to the Main Factory Lobby
As soon as we pass through the now-open shutters, and past the short hallway, we’ll be in the main factory lobby where we can catch a glimpse of our archnemesis for this chapter, Huggy Wuggy. But don’t worry; while he’s on his pedestal posing, he’s completely harmless—you can even walk as close to him as you can and he won’t budge. However, this will change soon after we solve the first puzzle in this section, which we’ll talk about further down below.

To progress, we need to use the Blue Hand on the panel directly to the right as we enter the lobby, which won’t work since the panel doesn’t have any power. However, this action will prompt a key to drop from the ceiling and land on Huggy Wuggy’s hand. This key will open the door to the Power Room, and you can grab it simply by using your Blue Hand on it.
With the Yellow Power Room Key in hand, open the door labeled “Power” on the left side of the room and head to the Power Room.
Restoring Power to the Building
Our goal in the Power Room is to restore power to the main building so that we can gain access to the door that was previously locked. To do so, we’ll need to solve a relatively simple puzzle in this room. The idea is to use our Blue Hand to conduct electricity from an exposed panel, to the power poles located nearby, which will restore power to the building.

To solve this puzzle, all you need to do is use your Blue Hand on the panel to open it up and expose the circuits within. Afterward, you must once again use your Blue Hand on the circuits, while leaving the button held down to keep it fixed to the socket, and then walk across the room to the power poles nearby. This will conduct electricity through your Blue Hand and onto the poles, energizing them and bringing power back to the building.
With the power restored, make your way back to the main factory lobby to find a nice surprise.
Obtaining the Red Hand
Surprise, Huggy Wuggy’s gone!
Solving the puzzle in the Power Room triggers Huggy Wuggy to leave his pedestal and start stalking you throughout the remainder of the chapter. But don’t worry, he won’t actually do anything until the end sequence—it’s just possible to spot him stalking you through the vents and hallways at times. Regardless, your next stop is through the door that was previously locked—use your Blue Hand on the panel again to open it and gain access.
In this next room, you’ll need to walk up the stairs and walk until you come up to an inactive control panel. To restore functionality to this panel, we’ll need to find four fuses that are strewn across this room.

To get started, pick up the fuse next to the panel and slot it in to open up a gap in the railing next to it, and then drop down onto the main floor. In this place, you’ll need to search for the other three fuses, which are spawned in random locations, though they are frequently found on shelves. Once you’ve found all the fuses, make your way back up by opening the door to the right of the conveyor and insert the fuses into the panel to bring it to life, which will prompt the Red Hand to drop to the conveyor belt below.
Before leaving this room, you can find the Yellow Tape on the second leaning shelf closest to the entrance. Meanwhile, the Yellow VCR is located next to the stairs leading up to the control panel in this room.
Once you’ve solved the puzzle, and optionally picked up and viewed the Yellow Tape, your next destination is through the conveyor belt where you picked up the Red Hand. To open the door at the end of the belt, you just need to activate the panels beside it using both hands at the same time.
The Conveyor Belt Puzzle
After making your way through the conveyor belt shaft, you’ll come to a part where you won’t be able to progress any further until you solve yet another puzzle. Luckily, this one is very easy, though it requires the use of both hands to complete a circuit.
As soon as you land, hang a right and make your way along the belt until you reach some stairs. Go up the stairs and find the covered socket on the right. Use your Blue Hand to open this socket, and then again to leave it stuck in the socket to create the first part of the circuit. Afterward, with the Blue Hand hooked up to the panel, make your way back to the entrance of this part, and this time head to the door and look to the left to find the inactive energy pole. To complete the circuit, simply use your Red Hand on the pole, which will bring the conveyor back to life and give you access to the Make-A-Friend Room.
Make-A-Friend Room
We’re almost done!
In this room, the idea is to create a toy for ourselves, since the exit door won’t open until we put a toy on the scale beside it. However, just like many other rooms in this factory, we first have to restore power to it so the machinery is brought back to life and we can create our toy.
To get started, walk up to the catwalk in the upper level. Once above, use the GrabPack to bridge the gap in the catwalk, by pulling the missing section towards you. Make your way to the end of the catwalk where you’ll find a socket. However, before interacting with the socket, look to the right to find the Pink Tape on a platform beside the catwalk—use your GrabPack to pick it up if you want. The Pink VCR is located beside the stairs leading up to the catwalk.

To solve the Make-A-Friend Room puzzle, you need to create another circuit using the socket and your GrabPack hands. However, before getting started, head back to the middle of the catwalk and use your GrabPack again to bridge another gap, which will give you access to all the power poles. Afterward, go back to the socket and connect to it and, with your Blue Hand connected, walk across the shortcut you just made and turn to the right. Once you reach another gap, use your Red Hand to bridge it and then walk across it. After making your way across, you need to wrap around so that your Blue Hand covers both power poles, and then use your Red Hand to connect to the second socket across the room to complete the circuit.
After restoring power to the room, jump back down to the factory floor where you’ll find the machinery controls. All you need to do here is press the middle button, and then pull the three levers on the machinery itself to begin the production process. After a minute or so, you can pick up your completed toy on the conveyor belt, and then place it on the scale to the right of the big exit doors, which will make them open and give way to the next segment.
Get ready because the scariest part of the entire chapter is coming up next!
The Huggy Wuggy Chase
The title of this section says it all—this is the part where you’ll be chased by the huge toy doll and you’ll have to run for your life. However, with the instructions in this guide, you’ll be able to easily clear it without getting caught.
To start the chase, you need to walk through the door that just opened after you put your toy on the scale. Shortly after progressing through the hallway, Huggy Wuggy will emerge from the darkness and start giving chase.

As soon as you see Huggy creeping up, turn around and run to the conveyor where you picked up your toy, which should have an open door. The entirety of the chase will take place throughout these narrow conveyor tunnels, and you’ll need to navigate to the end in order to survive. Luckily, all you need to do is run and read the writing on the walls that will guide you towards the end.
You’ll know you have reached the end of the chase when a door slams in front of you, preventing passage for a few seconds. However, after a few seconds, the door will open up again and let you through, which will take you to a dead end catwalk with nowhere to go. To finish the chase, you need to walk to the end of the catwalk, and then turn around and look up to find a box with handprints on it. Use your GrabPack to pull it down and make it drop on the catwalk, which will crush Huggy Wuggy and send both him and the catwalk tumbling down into the dark abyss underneath.

Aftermath and Ending
Breaking the catwalk will also send you down onto another catwalk, after which you’ll be free to wander around. At this point, you’re basically done with Poppy Playtime Chapter 1. Give yourself a pat on the back as the hardest part is behind you.
Proceed along the catwalk until you get to a T intersection. In the middle of this intersection is the Gray Tape. To view it, pick it up and turn right on the intersection, where you’ll find the corresponding VCR. Afterward, go back to the intersection and this time go to the left until you reach a floral hallway with a door at the end of it. After opening the door, you’ll find the Poppy doll inside a box, which you need to open to finish the chapter and watch the final cutscene.
And with that, you have beaten Poppy Playtime Chapter 1!